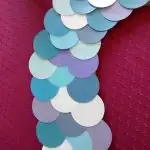
This super easy project is sure to get likes at your next party or event! As I mentioned on the blog post, I only had to buy one thing to make it, which is so nice when crafting (who knows you might already have one). I bought a paper punch (size: 1.5″ for the perfect size circles) and with my craft store coupon it was under $12. 
I also made a couple of trips to the local hardware store…you may want to figure out your colour scheme for your number and do the same thing! I just walked over to the paint display and started picking up paint chips in any nice blue hue that I thought would match the ocean…now I recommend sticking with about 5-8 colour chips that way you don’t have to worry about matching too many hues (remember, you can use 2-3 colours from one chip as they already compliment each other).
What you Need:
- Paint Chips
- Paper Punch
- Cardboard (any size, you can customize the size of your numbers to your needs)
- Tissue paper (if it will be seen from behind…not hanging on a wall)
- Scissors
- Tacky Glue
Directions
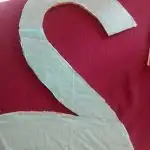
- Start off by measuring out your number on the cardboard piece you have selected. I did mine about 2.5 ft tall by about 1ft at the widest part. (I had to draw the #2 a few times to get it just the way I wanted…don’t worry about those pencil marks as they will be covered by the paint chips).
- Next, make yourself a nice cup of tea and get comfy on the couch…you are gonna need to punch out a ton of little circles with your brand new paper punch! I can’t really say how many to punch as it depends on size. I grabbed about 40 paint chips in total and just punched to my hearts content. I now have a baggie with the lefovers I didn’t use which will come in handy for the next time!
- Start by gluing a piece of tissue to the back of your number (cut to size once it has been glued down, so much easier).
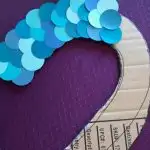
- Now the fun part! Begin gluing down your paint chips in whatever colour order you prefer! Notice that I layered mine in a scale-like pattern so that they fit over each other nicely. Continue your pattern all the way up your number, making sure to step back and look at your colours every once and awhile so you can see what you need more of.
- *IMPORTANT* Once I was finished I placed it face down on the table and laid heavy cookbooks on top, this allowed the paint chips to stick flat to the number rather than pulling at the edges!
- That’s it! You are done! Look at the pretty number you created 🙂 Since we were using ours on a table my hubby just bent a small rod and we inserted it into the cardboard itself. If you are hanging yours on a wall or taping on a table there is no need for this!

